
If your iPhone is running out of storage, transferring photos to your computer is the best solution. Whether you want to keep your memories safe, free up iPhone storage, or edit photos on a bigger screen, knowing how to transfer photos from iPhone to PC is essential.
In this guide, we’ll cover multiple methods to move your photos safely and quickly from iPhone to Windows PC.
Why Transfer Photos from iPhone to PC?
- Free up storage on your iPhone.
- Backup your memories in case your phone gets lost or damaged.
- Easier editing on larger screen with apps like Photoshop.
- Share photos faster via USB or Wi-Fi.
How to Transfer Photos from iPhone to PC – Best Methods
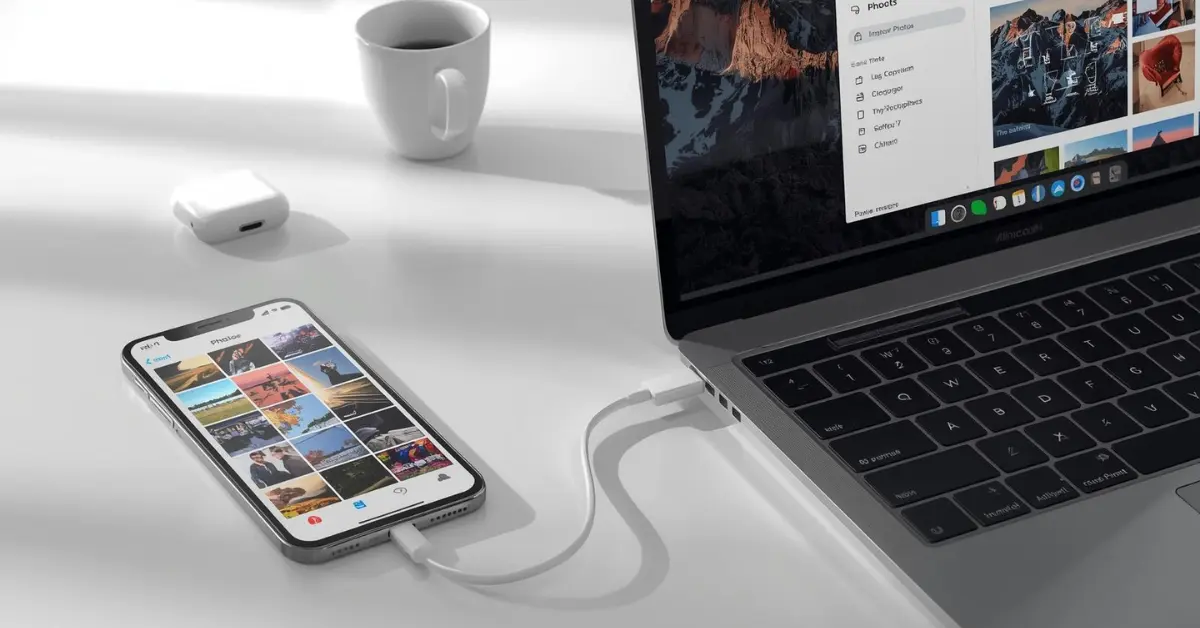
Transfer Photos Using USB Cable (Direct Method)
- Connect your iPhone to your PC with a Lightning-to-USB cable.
- Unlock your iPhone and tap Trust This Computer if prompted.
- On Windows, open the Photos app.
- Click Import > From a USB device.
- Select the photos you want → Click Import Selected.
This method works offline and is best for large photo transfers.
Transfer Photos via iCloud
- On iPhone: Go to Settings > [Your Name] > iCloud > Photos → Enable iCloud Photos.
- On PC: Download iCloud for Windows from Apple’s website.
- Sign in with your Apple ID.
- Enable Photos > iCloud Photo Library.
Your photos will automatically sync to your PC whenever connected to the internet.
Transfer Photos Using Google Photos or OneDrive
- Install Google Photos or OneDrive app on iPhone.
- Upload photos to the cloud.
- Open browser/desktop app on PC → Download photos.
Best if you already use cloud storage services.
Transfer Photos via Email or Messaging Apps (Quick Share)
- Select photos in iPhone’s Photos app.
- Share via Email, WhatsApp Web, or Telegram Desktop.
- Open the same service on your PC → Download photos.
⚡ Works for few photos, not ideal for bulk transfers.
Transfer Photos Using Third-Party Tools
Several software options make it easier:
- iMazing
- AnyTrans
- EaseUS MobiMover
These tools allow bulk transfer + selective export (albums, videos, live photos, etc.).
Safety Tips for Photo Transfer
- Always use original Apple cable for USB transfer.
- Make sure iPhone is unlocked while connecting.
- Keep iTunes or iCloud updated on Windows PC.
- If transfer is slow, restart both devices and try again.
Now you know how to transfer photos from iPhone to PC using different methods – USB cable, iCloud, Google Photos, email, or third-party apps.
For bulk and fast transfer → USB cable method is best.
For automatic syncing → iCloud Photos works perfectly.
By following this guide, you can free up iPhone storage and keep your memories safe on your PC.